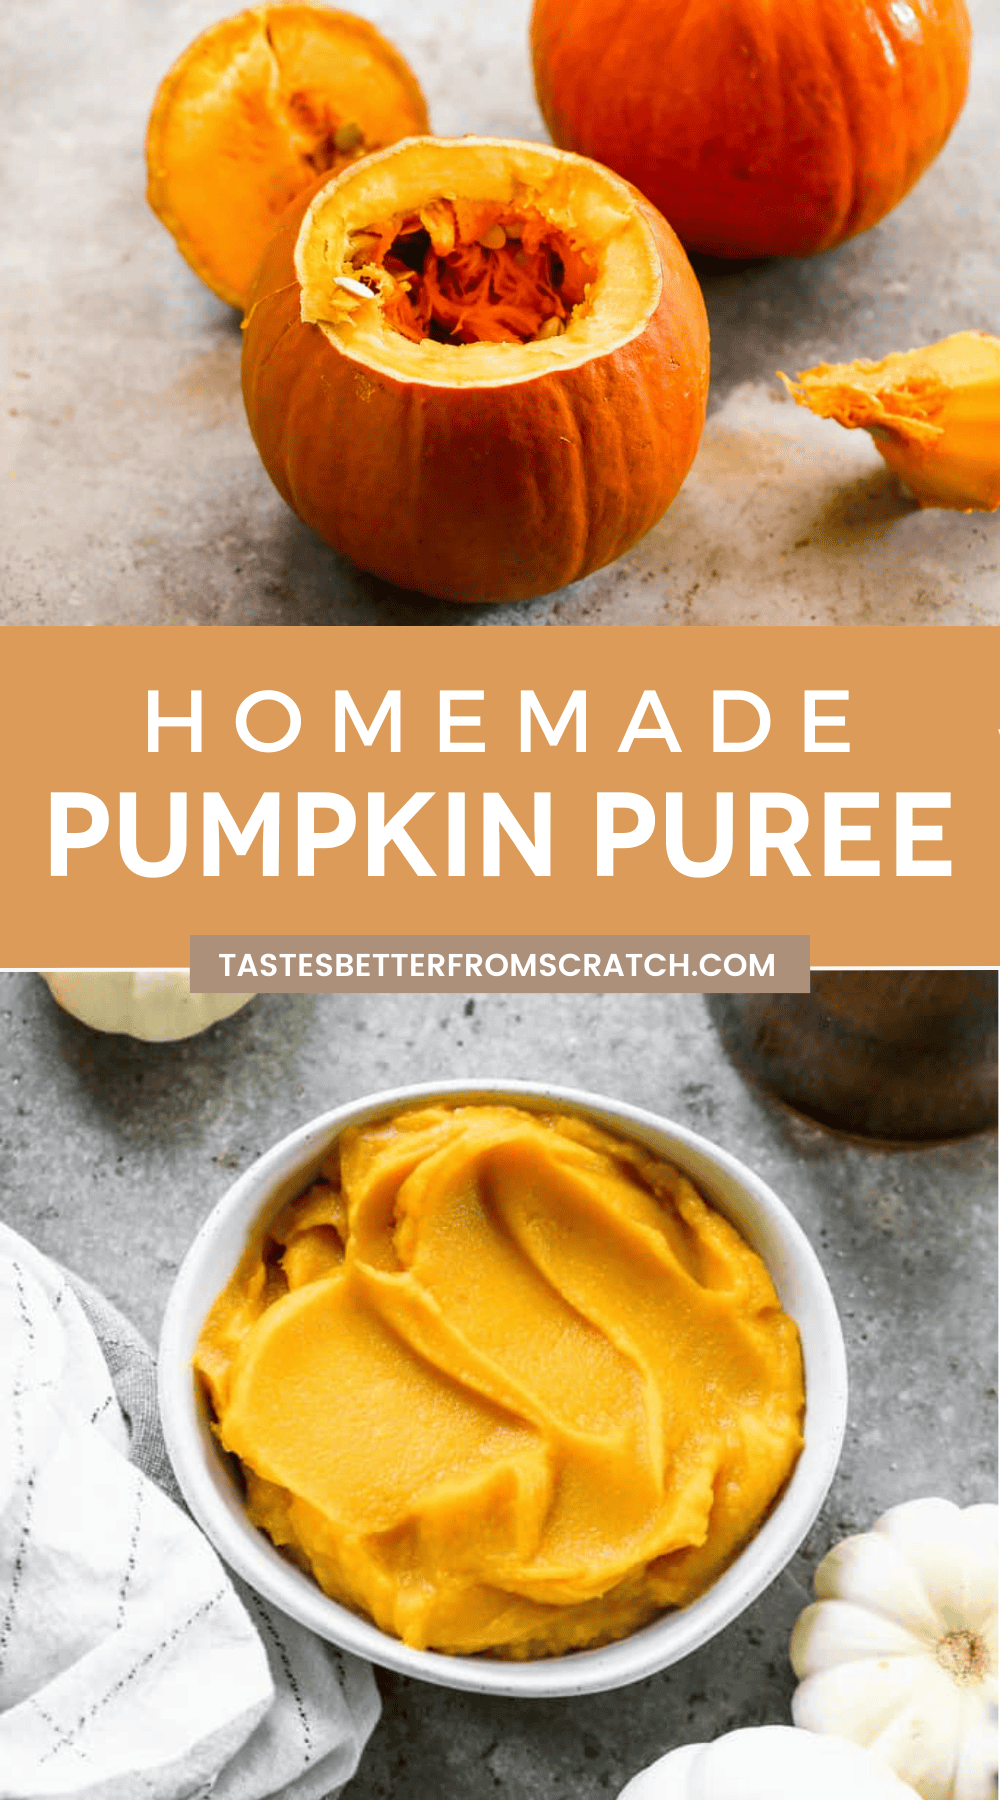
Homemade Pumpkin Puree: Better Than Canned, So Easy!
Tired of bland, watery canned pumpkin puree that lacks genuine flavor and vibrant color? Imagine a homemade version that’s incredibly sweet, silky smooth, and bursting with the true essence of autumn. Making your own pumpkin puree from scratch might sound like a daunting task, but we're here to tell you it's not only simple but also incredibly rewarding. This comprehensive guide will walk you through how to make fresh pumpkin puree that will elevate all your fall recipes, from pies and muffins to soups and lattes. Say goodbye to the can opener and hello to superior taste and quality!
Why Homemade Pumpkin Puree Reigns Supreme
The difference between homemade and canned pumpkin puree is like night and day. Once you try it, you'll never go back. Here’s why:
- Unmatched Flavor: Canned pumpkin often tastes muted, sometimes even metallic. Freshly roasted pumpkin puree, however, boasts a naturally sweet, earthy, and complex flavor profile that transforms your dishes.
- Superior Texture: Homemade puree is smoother and creamier, with a richness that store-bought versions can't replicate. You also have control over the consistency, ensuring it's perfect for your specific culinary needs.
- No Mystery Ingredients: With homemade, you know exactly what’s in it – just pumpkin! Canned varieties can sometimes contain preservatives or other additives. Plus, you avoid the BPA that can be found in the lining of some cans.
- Cost-Effective: While a single can might seem cheap, buying a whole pumpkin and making several batches of puree yourself is often more economical, especially when pumpkins are in season.
- Seasonal Delight: Embrace the magic of autumn by utilizing fresh, seasonal produce. There's an undeniable satisfaction in creating something delicious from scratch.
Choosing Your Perfect Pumpkin for Puree
Not all pumpkins are created equal when it comes to making puree. While a giant jack-o'-lantern pumpkin is perfect for carving, it's typically too stringy, watery, and bland for culinary use. For the best homemade pumpkin puree, you want to choose varieties specifically bred for eating.
- Sugar Pie Pumpkins (or Pie Pumpkins): These are your go-to. Small, sweet, and with dense, non-fibrous flesh, they are ideal for baking.
- Kabocha or Hubbard Squash: While technically squash, these often yield excellent results, producing a rich, creamy, and flavorful puree very similar to pumpkin.
- Cinderella Pumpkins: Known for their beautiful flat shape and deep orange color, these also offer sweet, fine-textured flesh suitable for puree.
- Long Island Cheese Pumpkins: Another heirloom variety, these are tan and flat like a wheel of cheese, with superb flavor and texture.
When selecting your pumpkin, look for one that feels heavy for its size, indicating less water content and more dense flesh. The skin should be firm and free of soft spots, blemishes, or mold.
The Simple Steps: How to Make Fresh Pumpkin Puree
Preparing your own fresh pumpkin puree is a straightforward process that yields truly remarkable results. Follow these easy steps to unlock the full flavor potential of this versatile squash.
Step 1: Prep Your Pumpkin
Start by thoroughly washing the exterior of your pumpkin. This removes any dirt or debris that might transfer to the flesh when cutting. Next, carefully cut the pumpkin in half. Depending on its size and shape, you might cut it from stem to base or around its equator. Using a sturdy spoon or an ice cream scoop, scrape out all the seeds and stringy bits. Don't discard the seeds – they can be roasted for a delicious snack!
Step 2: Cook the Pumpkin (Roasting is Best!)
While you can boil or steam pumpkin, roasting is highly recommended as it caramelizes the natural sugars, intensifying the flavor and yielding a sweeter, richer puree. It's the secret to truly superior taste!
- Roasting Method:
- Preheat your oven to 400°F (200°C).
- Lightly brush the cut sides of your pumpkin halves with a neutral oil (like olive or avocado oil) and season with a pinch of salt.
- Place the pumpkin halves cut-side down on a baking sheet lined with parchment paper or a silicone mat.
- Roast for 45-60 minutes, or until the flesh is fork-tender and slightly browned at the edges. Cooking time will vary depending on the size and thickness of your pumpkin.
- Alternative Methods (Less Flavorful, but Quicker):
- Steaming: Cut pumpkin into smaller chunks, steam until tender (about 15-20 minutes).
- Boiling: Peel and cube the pumpkin, boil until tender (about 15-20 minutes), then drain very well.
Step 3: Cool and Peel
Once the pumpkin is cooked, remove it from the oven and let it cool until it's comfortable enough to handle. The skin should now be very easy to remove – simply scoop the tender flesh away from the skin using a spoon, or peel it off with your hands. Discard the skin.
Step 4: Puree the Flesh
Transfer the cooked pumpkin flesh to a food processor or a high-speed blender. Process until completely smooth. If you find the puree is too thick and your machine is struggling, you can add a tiny splash of water (a tablespoon at a time) or a bit of the liquid from the baking sheet if you roasted it, but be careful not to make it watery. The goal is a thick, creamy consistency.
Step 5: Drain for Optimal Consistency (Crucial Step!)
This step is often overlooked but is absolutely essential for achieving the perfect puree, especially for baking. Freshly cooked pumpkin contains a lot of water, and if you don't drain it, your baked goods can turn out soggy or your soups too thin.
- Line a fine-mesh sieve with a few layers of cheesecloth or a clean kitchen towel.
- Place the sieve over a bowl.
- Spoon the pumpkin puree into the lined sieve.
- Let it sit and drain for at least 30 minutes, or even a few hours in the refrigerator. You'll be amazed by how much liquid collects in the bowl!
Once drained, your homemade pumpkin puree is ready to use! For an even more detailed walkthrough and expert tips on how to make fresh pumpkin puree from scratch, be sure to check out our dedicated guide.
Storing Your Golden Harvest
One of the best advantages of making your own puree is having a stash ready for future culinary adventures. Proper storage ensures your hard work doesn't go to waste.
- Refrigeration: Store leftover puree in an airtight container in the refrigerator for up to 5-7 days.
- Freezing: For longer storage, freezing is your best bet.
- Spoon the puree into freezer-safe bags, removing as much air as possible, and flatten them for easy stacking.
- Alternatively, portion the puree into ice cube trays, freeze until solid, then transfer the frozen cubes to a larger freezer bag. This is perfect for single-serving needs!
Ready to master your puree game? For an even deeper dive into achieving consistently perfect results, you might find our article Unlock Perfect Fresh Pumpkin Puree: Your Easy Guide incredibly helpful.
Creative Ways to Use Your Fresh Pumpkin Puree
Now that you have a beautiful batch of homemade pumpkin puree, the possibilities are endless! Here are just a few ideas to get you started:
- Baking: Pumpkin pie, pumpkin bread, muffins, scones, cookies, pancakes, waffles.
- Savory Dishes: Pumpkin soup, risotto, curries, chili, pasta sauces.
- Drinks: Pumpkin spice lattes, smoothies, milkshakes.
- Other Delights: Baby food, dog treats, overnight oats, hummus.
Conclusion
Making your own homemade pumpkin puree is a simple yet incredibly impactful way to elevate your cooking and baking. From its superior flavor and texture to the satisfaction of creating something wholesome from scratch, the benefits are clear. While it takes a little time, the process itself is straightforward, and the resulting puree is far better than anything you'll find in a can. So, next time autumn rolls around, grab a fresh pie pumpkin, follow these easy steps on how to make fresh pumpkin puree, and get ready to enjoy the true taste of the season!
